My Vichyssoise or Delicious & creamy cold soup

VichysoisseSWhen the weather is getting hotter, I recommend you spend an evening making a large batch of this beautiful soup. It is both healthy and tasty, and well loved by all family members. I like to use vegetable stock, this means the dish is completely vegetarian and all my friends can enjoy it as well.

The soup can be served hot or cold. I would cool the soup for at least 4 hours before serving. That’s why I like to make this dish a day in advance.

This soup is also beautiful als a small course at a dinner party or for a high tea. Just serve the soup in a dainty tea cup or a small glass instead of a large plate.

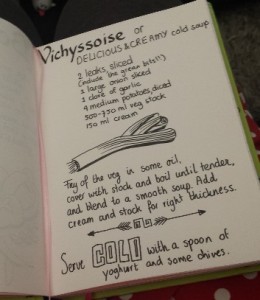
Vichyssoise (6 portions)

  • 2 leaks, sliced and thoroughly cleanVichyssoiseMed, including the green part
  • 1 large onion, sliced
  • 1 garlic clove, finely sliced
  • 4 medium potatoes, diced
  • 500 – 750 ml vegetable stock
  • 150 ml cream
  • 1 tbsp olive oil
  • To serve:
    • Greek yoghurt or sour cream
    • Chopped spring onion or chives
  1. Fry off the potatoes, onion, leaks and garlic until the onion is translucent.
  2. Add vegetable stock until all ingredients are submerged.
  3. Simmer until the potatoes are cooked.
  4. Blend the soup to a smooth puree, add stock if you want a thinner soup.
  5. Stir in the cream and season to taste. Remember that cold soup will need stronger seasoning.
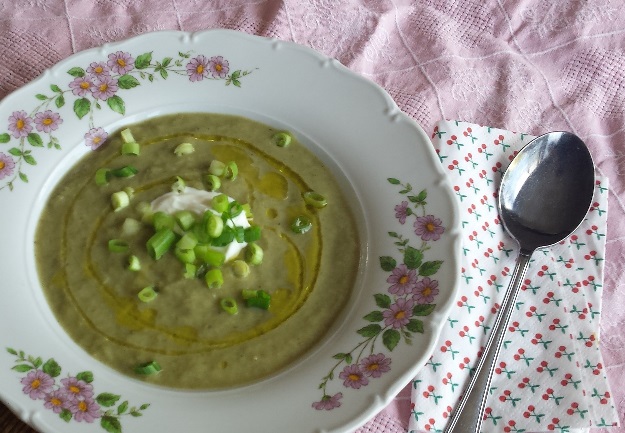
  6. Serve your soup with a dollop of Greek yoghurt or sour cream and some chopped chives or spring onions.

VichysoisseXL

On hot summer evenings I enjoy a plate of this cold soup with some fresh bread. The best thing is that all you have to do is serve it up, no mess or fuss, just a cooling and healthy dinner.

Happy easter!

For this easter we are staying at home with our little family. Some of you might have bigger plans and feel a little overwhelmed by now. These are some easy recipes with maximum impact on your guests:

HappyEaster2016

Remember to keep your cooking for the day simple (put more effort in the preperations) and make sure you have plenty of time to enjoy your family and guests!

Posh Fish & Chips

SalmonMeal

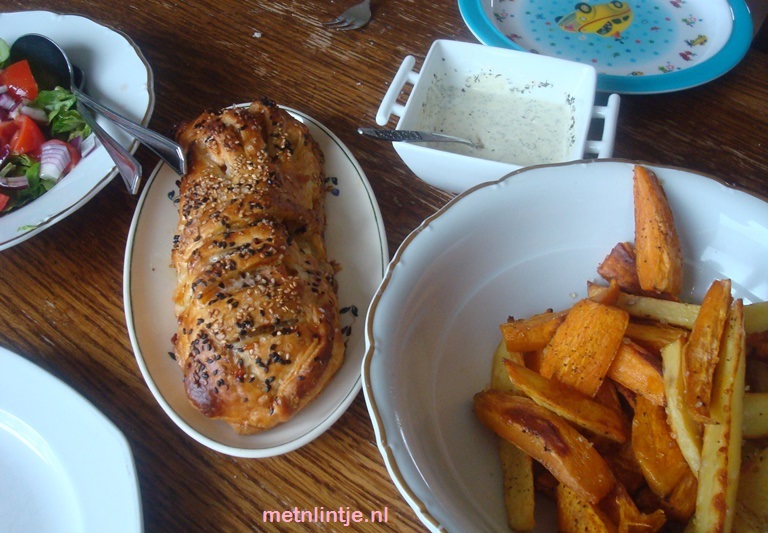
The title of this blog post is misleading, this posh dinner is easy to make. All you need is an oven and some patience. The recipe describes how to make a fancy but delicious salmon in a crust and delicious sweet and salty chips. As a side dish you can mix the suggested sauce. I also recommend making a simple green salad on the side.

I think this makes a great family meal. My son loves the sweet potato chips! It also makes an impressive dish if you have guests. Make a whole piece of salmon in a crust and cut lovely slices. Baking in the crust means your salmon will be moist but cooked, so enjoy!

Fish & chips (serves 2)

  • Salmon:
    • 300 gram salmon filet
    • 4 squares of ready made puff pastry
    • 4 tbsp herbed cream cheese
    • 1 beaten egg
    • 1 tbsp sesame seeds
  • 2 sweet potatoes
  • 2 large regular potatoes
  • 2 tbsp olive oil
  • rock salt
  • Sauce:
    • 1 tsp mustard
    • 1 tbsp mayonaise
    • 3 tbsp greek yoghurt
    • 1 tsp mint
    • 1 tsp dill
  1. Take your pastry squares out of the freezer and preheat your oven to 220 degrees C.
  2. Prepare your chips:
    • Clean and peel your potatoes.
    • Slice in long strips about 1 cm thick.
    • Lightly coat them in olive oil and sprinkle with sea salt and pepper.
    • Place on a baking sheet.
    • Bake in the oven for 30 minutes, the salmon can be added after 10 minutes.

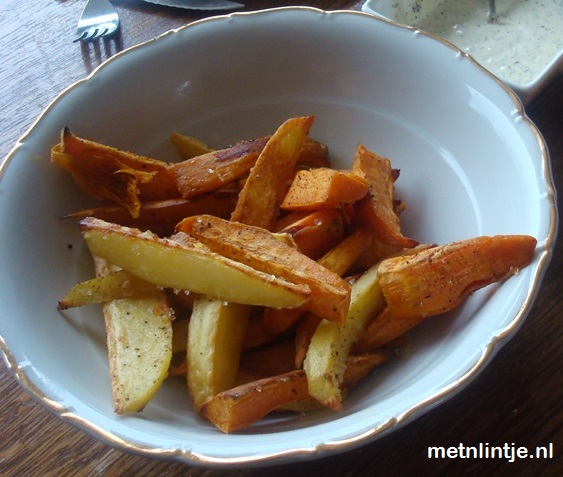
SweetSaltyChips

3. Prepare the salmon:

  • Connect the 2 dough squares.
  • Spread the cream cheese under the salmon.
  • Place the salmon filet on the cream cheese.
  • Season the salmon.
  • Make a few paralel slashes in your top dough squares.
  • Cover the salmon with the slashed squares.
  • Connect the bottom and top squares by pinching the dough together.
  • Brush the salmon package with egg.
  • Sprinkle with sesame and sea salt.

Salmon

  • After the potatoes have been in the oven for 10 minutes, you can place the salmon in the oven for 20 minutes.

This way all ingredients will be ready to eat simultaneously.

ZalmKorst

While the sweet&salty potato chips are cooking, mix your sauce ingredients and prepare your salad.

Bon apetit!

My tips for easter

Easter for me symbolizes new beginnings. It is also another occasion to relax and have a good time with people you love. Here’s my new and older suggestions for your Easter preparations:

  • Decorate some branches for Easter. Just trim any tree or shrub you like.

PaasBoom

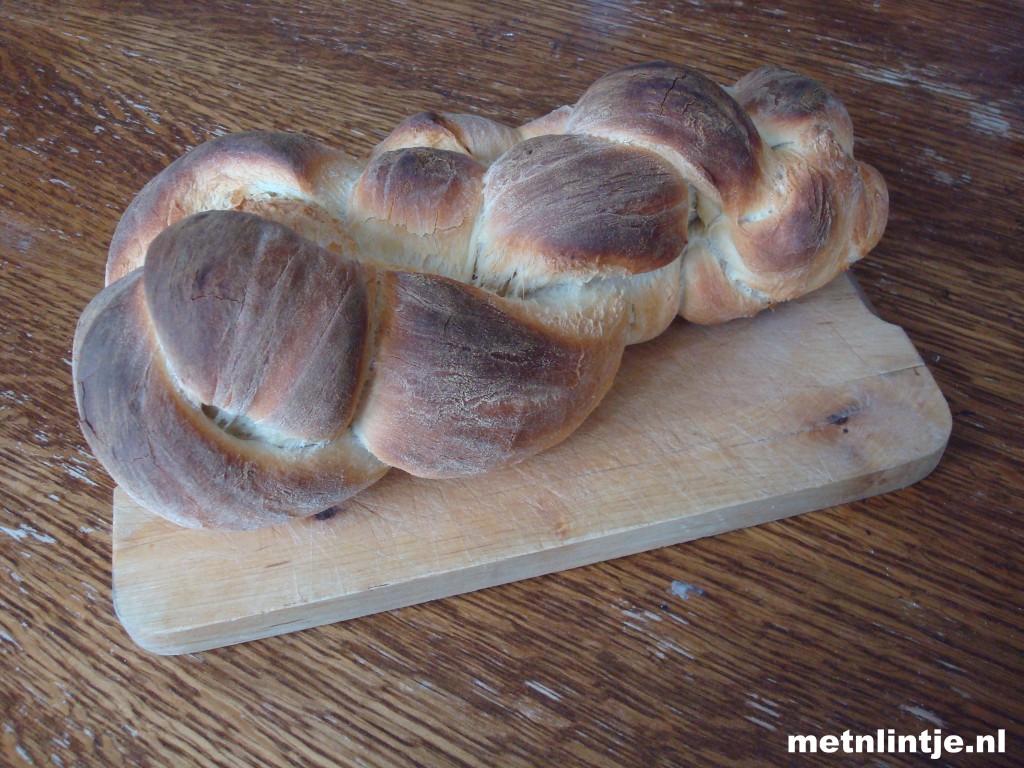
  • Make your own bread, it’s easier than you think. Read about baking bagels right here. By making the dough on Saturday evening, and doing the first proofing in your fridge, your timing will be perfect for brunch on Easter Sunday.

Vlechtbrood

  • Decorate Easter eggs, a fun activity for the whole family. Boiled eggs will keep for a few days in your fridge. Make them a few days in advance. For an even easier alternative: buy boiled eggs.

Eggbox

  • Make pancakes for your Easter brunch. The batter can also be made a day in advance and kept in your fridge.
  • Bake some yummy cupcakes and ice them in easter colors.
  • After hunting for Easter eggs, hand out home made bags to take your treasures home.

Tasjes

Baking Bagels

I am not ashamed to admit  I am a big carb lover. As a student I used to work saturdays in a bakery. This experience instilled in me a devotion to well baked bread. Recently I have  been making my own home baked loaves.
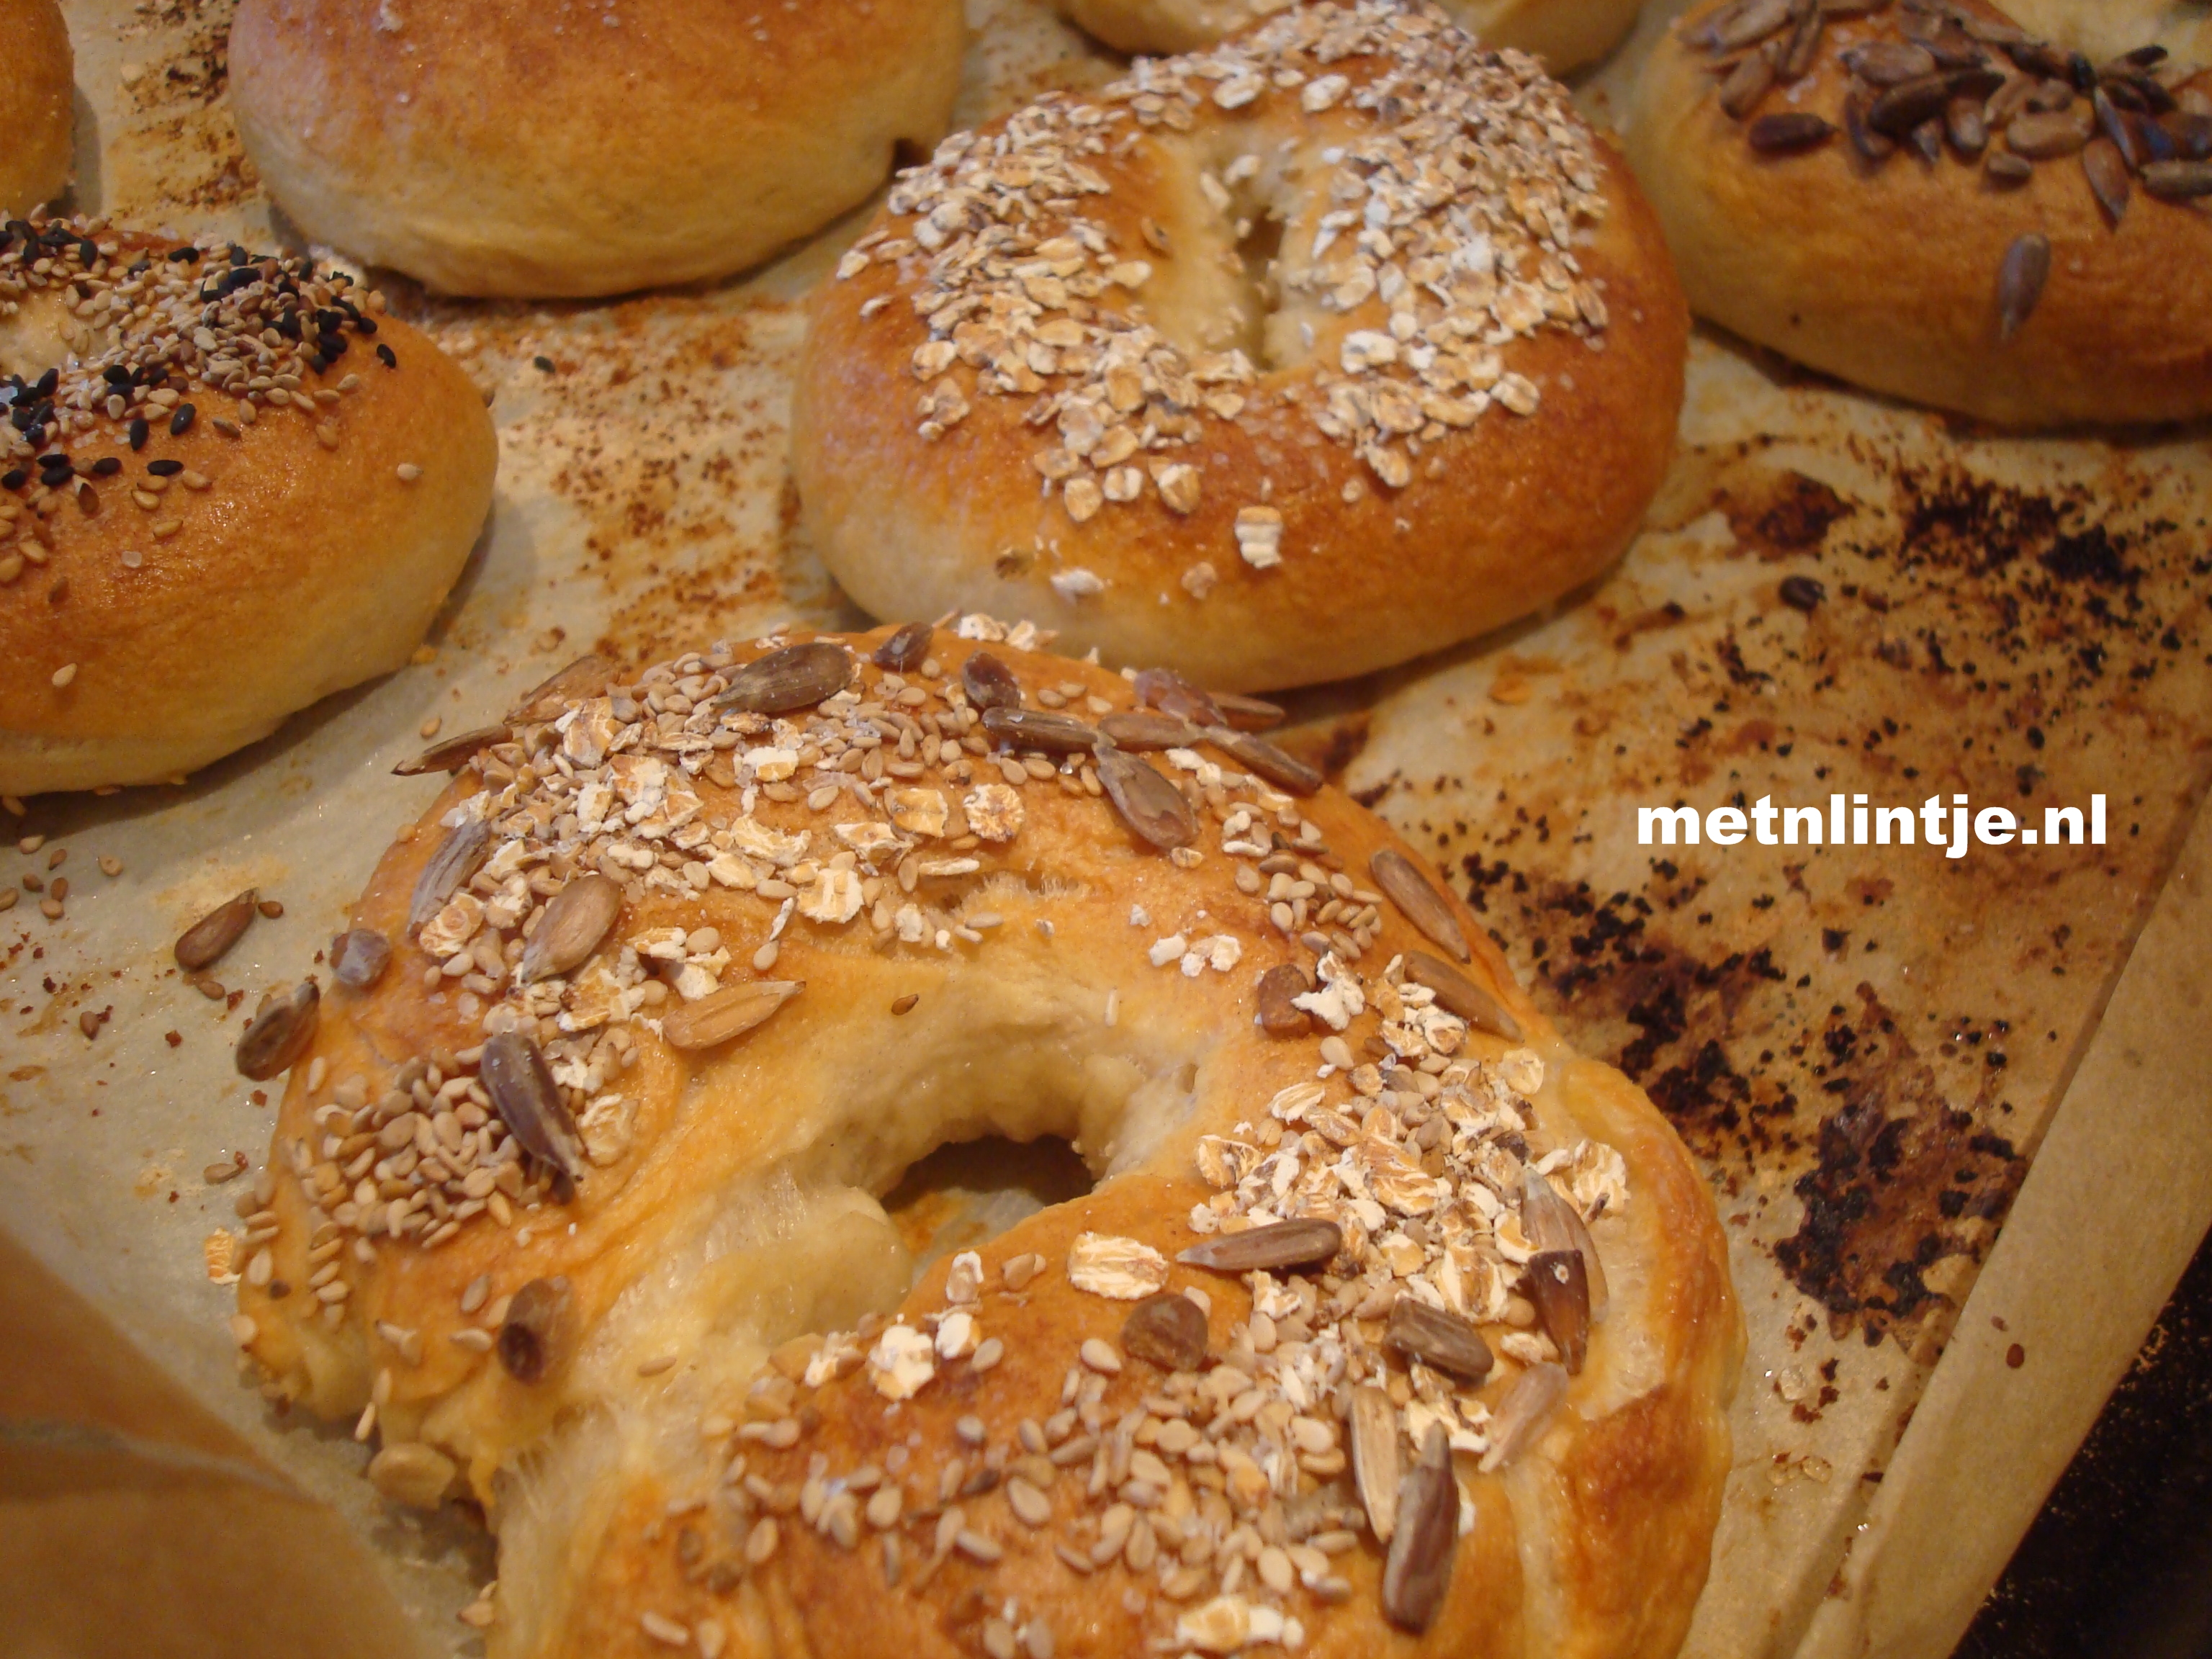
Bagelbake

Bread is such a magical thing to make. Basically you take 4 basic ingredients (flower, salt, water and yeast) and after some work, it becomes a completely new entity: dough. This dough that transforms several times while proofing. Dough is almost a living thing, which you created! When you bake it, the dough is again transformed, changing in texture and flavor for the last and final time. I cannot emphasize enough how inspiring it is to be the master of such a process.

I hope I have inspired you! If you have never baked before; start with an easy white loaf. If you would like a fun bread baking challenge, make these bagels! I have watched many video’s and instructions, and this method works for me. If you wander why I added certain steps, you can read the explanation in Italics. Personally I recommend doing step 1 through 4 the evening before. This way, If you are an early riser, you can surprise your loved ones with these bagels for breakfast or brunch.

BagelFB

Bagels (about 10 bagels)

  • 7 g sachet dried yeast
  • 4 tsp sugar
  • 2 tsp salt
  • 450 g bread flour
  • 300 ml lukewarm water
  1. Make your starter mixture – Combine 200 ml of water, the sugar, a large cup of the bread flower and the yeast in a mixing bowl. When combined, cover the bowl with clingfilm and leave in a warm place for 1 to 4 hours. Leaving this starter mixture for a while will add flavor to your bread as dough needs lots of time to develop. The starter should have the consistency of a runny pancake batter.
    bagelpap1
  2. Make your dough – When your starter mixture has developed, combine with the other ingredients. After combining, cover your bowl with a kitchen towel and leave your mix to stand for 15 minutes. Leaving this mix to stand makes kneading easier.
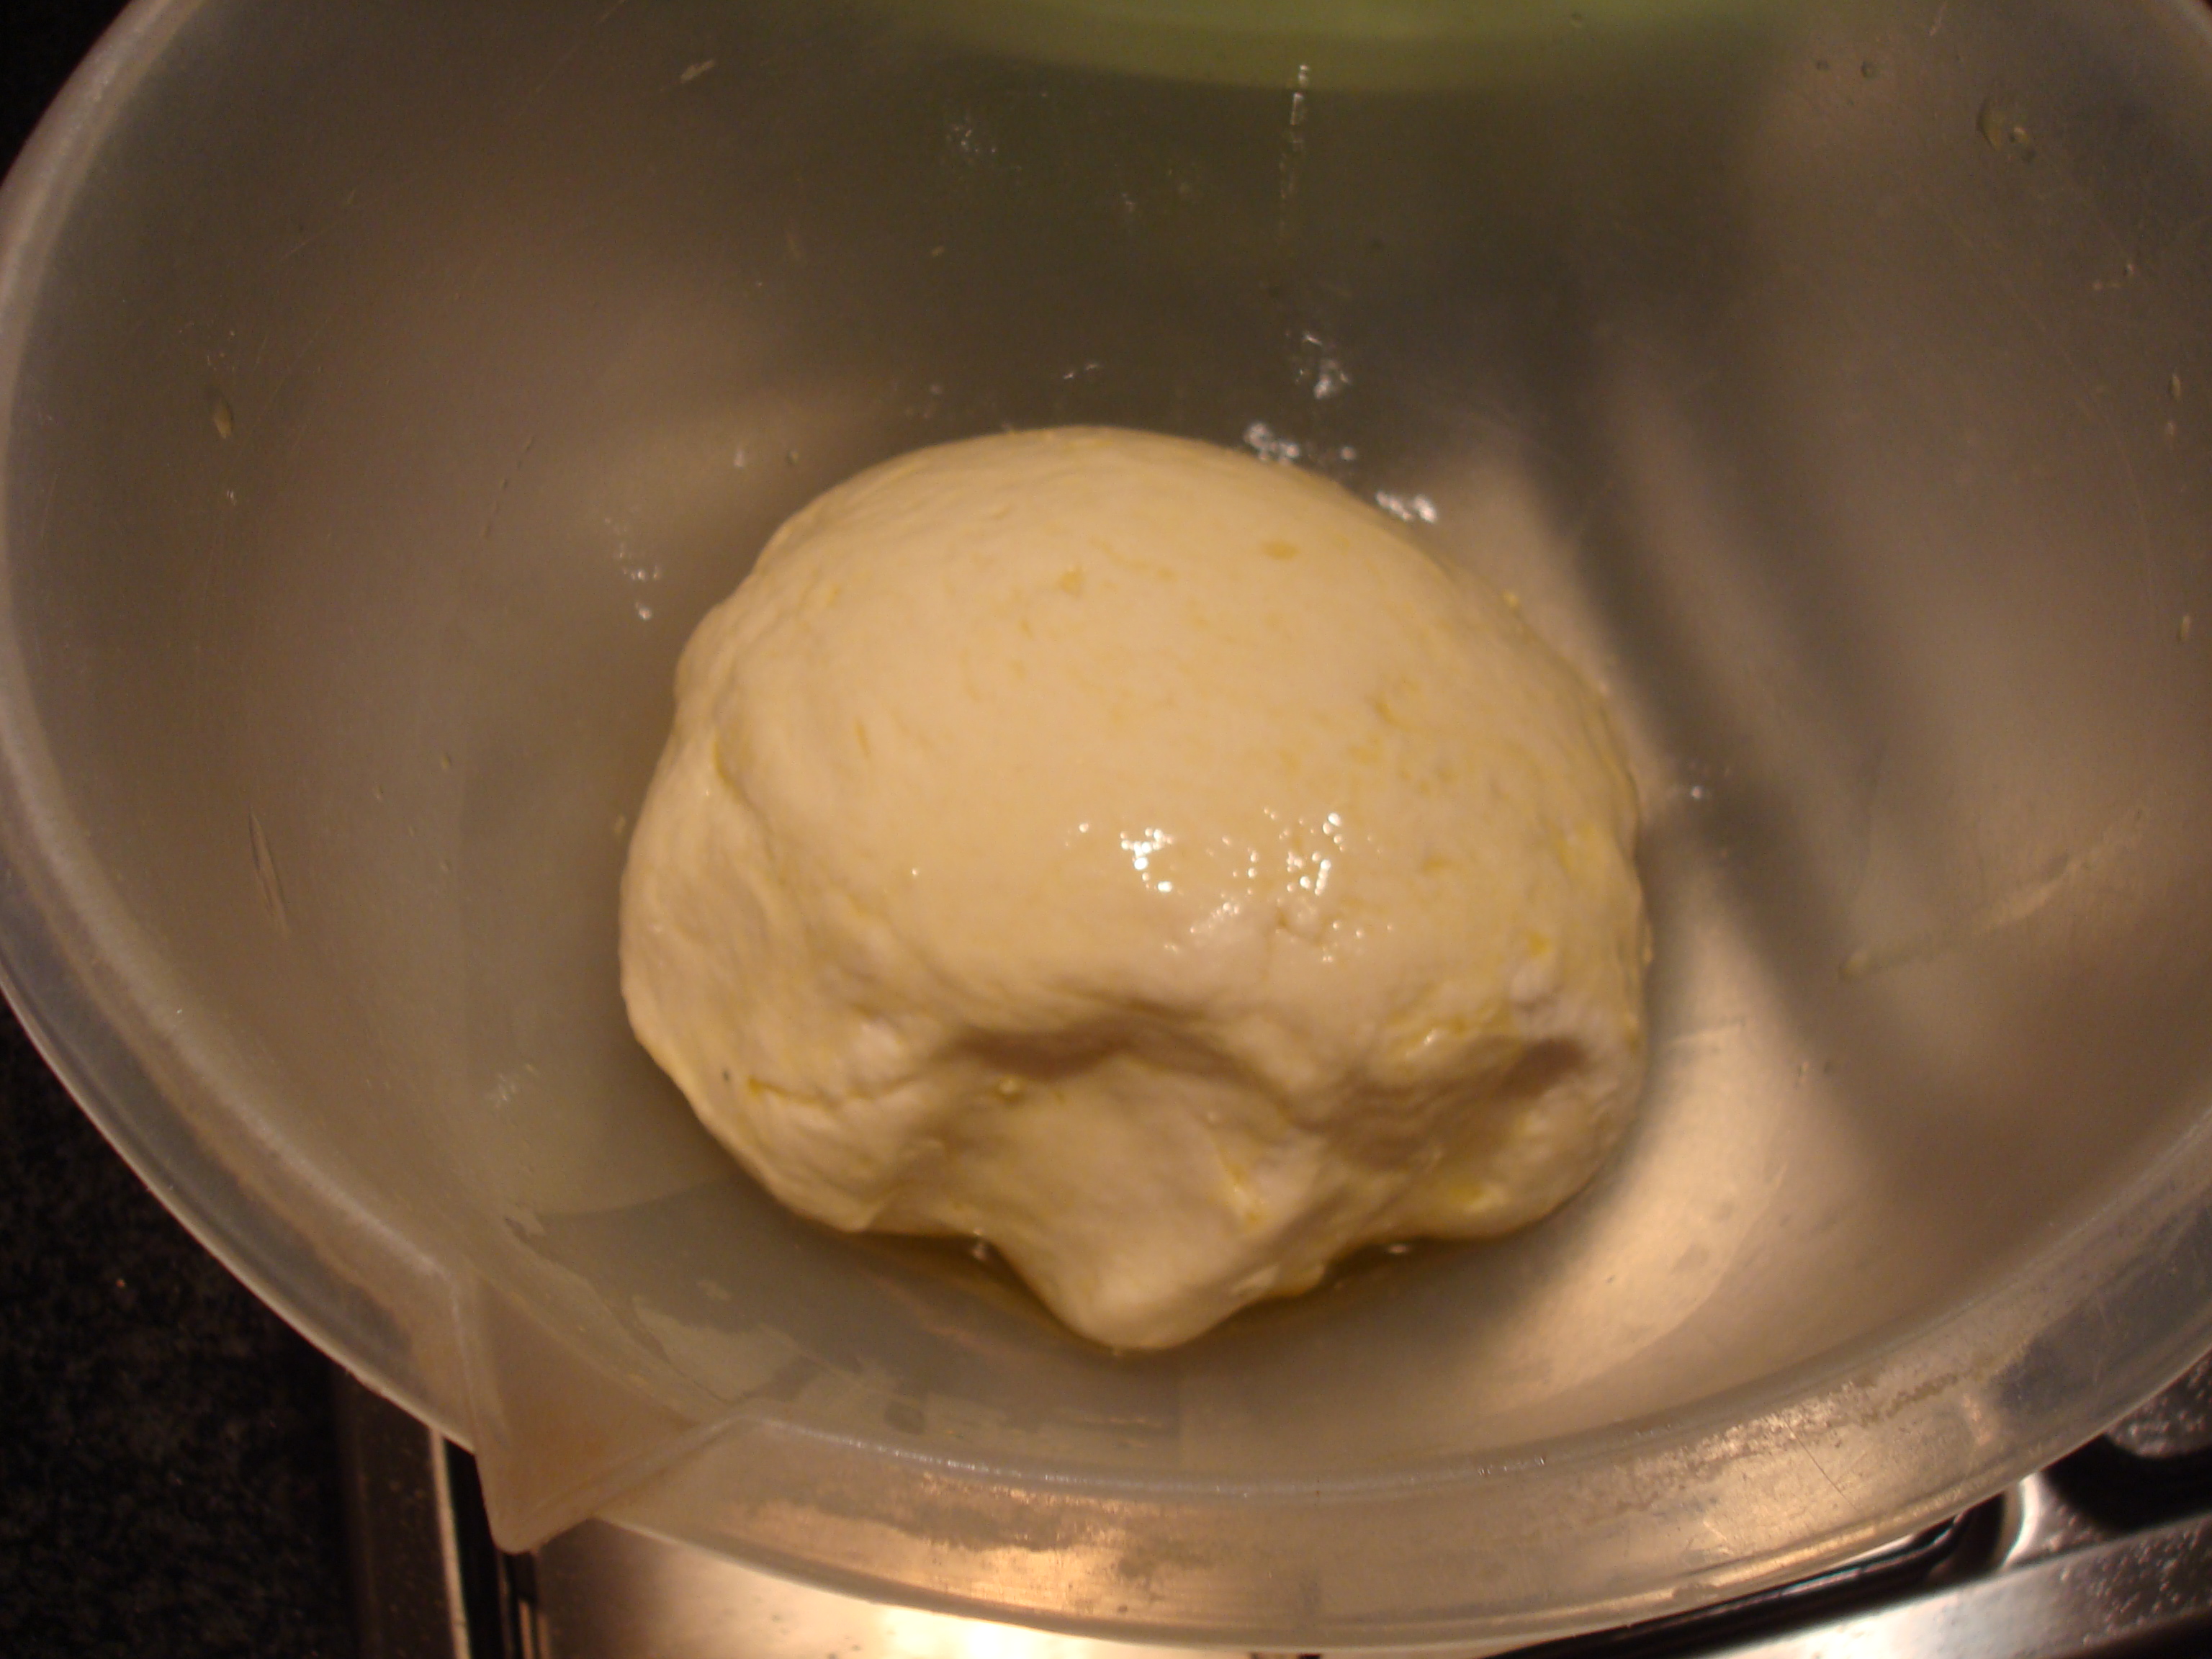
  3. Knead your dough for at least 10 minutes. If you are not used to kneading, just time your kneading, you cannot take any shortcuts with kneading, unless you have a machine to so it for you.
    BagelDeeg
  4. Proof your dough – Place your dough back in the bowl, cover with clingfilm and let your dough proof for at least an hour in a warm place, or let your dough proof in the fridge overnight. Letting your dough proof overnight is not only practical but this slow proofing means more flavor!
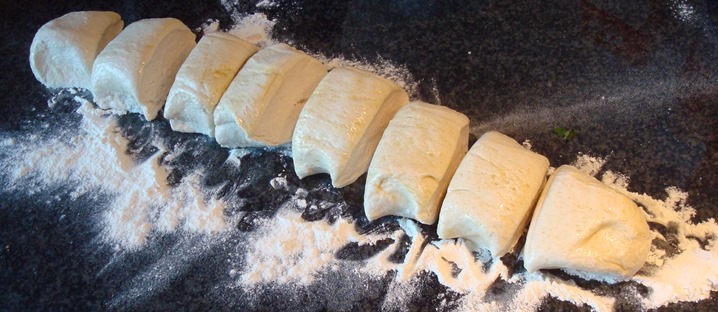
  5. Shape your dough –  If your dough comes from the fridge, leave it to get to room temperature for twenty minutes before shaping your bagels. Shape your donuts. Find instructions on Youtube for this step. Place your bagels on a baking tray dusted with semolina, flower or bread crumbs to prevent sticking.
    Bagelportie
  6. Proof your bagels – Cover your bagels with a damp kitchen towel and leave them to rest for 20 minutes.
  7. Preheat your oven to 220 degrees C.
  8. Poach your bagels – This step is what gives the bagels their unique texture. Put a large pot of simmering water on your hub. Gently slide your bagels in the water, let them poach 1-2 minutes on each side. Depending on the size of your pot, you will have to do this in batches as the bagels should not touch. After poaching, remove each bagel with a slotted spoon, and place the bagels on the baking tray.

    Bagelpoach
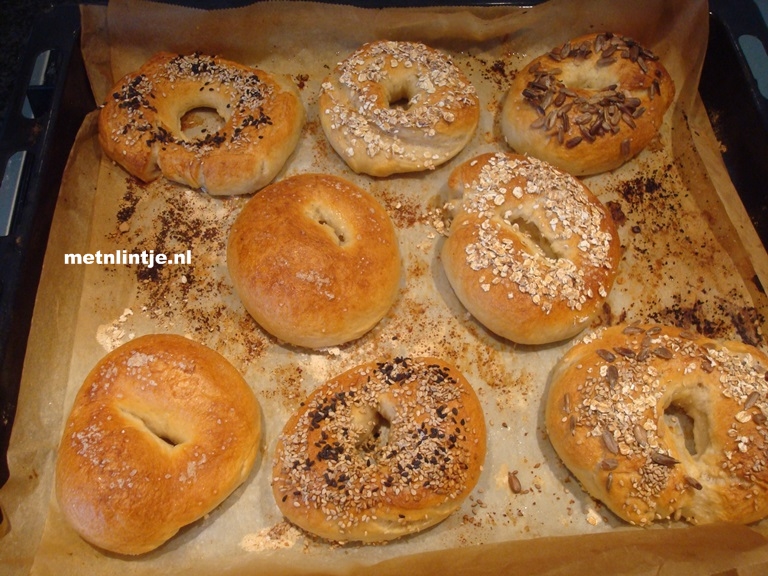
  9. Decorate your bagels – Your bagels will have grown during poaching and should have formed a skin around the outside. The bagels are now sticky and easy to garnish with seasalt and your favorite topping. You can use sesame, sun flower seeds or poppy.

    Bageltopping
  10. Bake your bagels for about 25 minutes or untill crispy and golden.
Bagels

Spring time treat: Tullips

There was a day when tulips were a precious commodity. In order to show off your personal wealth, tulips were displayed in tulip vases. Each tulip is placed in an individual opening, showing the tulips in all their splendor.

vaas

I still love these vases. I picked this one up at a thrift store the other day and decided to give it a make-over. I added the phrase “Every picked flower is a beautiful gesture.” It will make a perfect house warming gift, including some tulips of course!

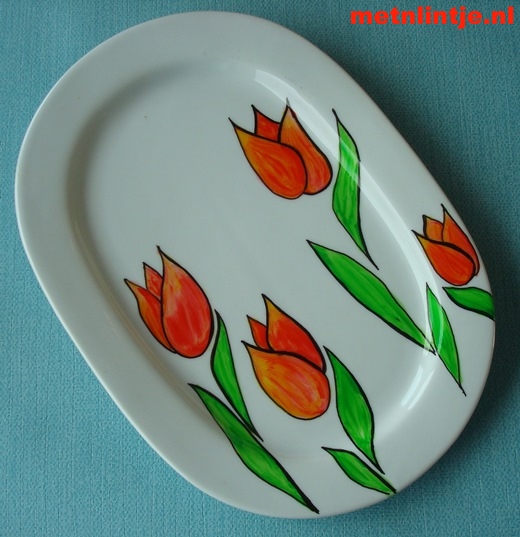
Tulips can also cheer up any plate.

DecoPlate

You can find out how I painted these objects here.

Paaseieren pimpen (3/3)

Voor de Pasen ben ik helemaal los gegaan op paaseieren. In het paasdrieluik geef ik tips en inspiratie:

Eg2Nadat je de eieren prachtig versierd hebt, kun je ze meenemen naar de paasbrunch.

Je kunt ze verstoppen, deze felgekleurde eieren zullen wel opvallen in de tuin.

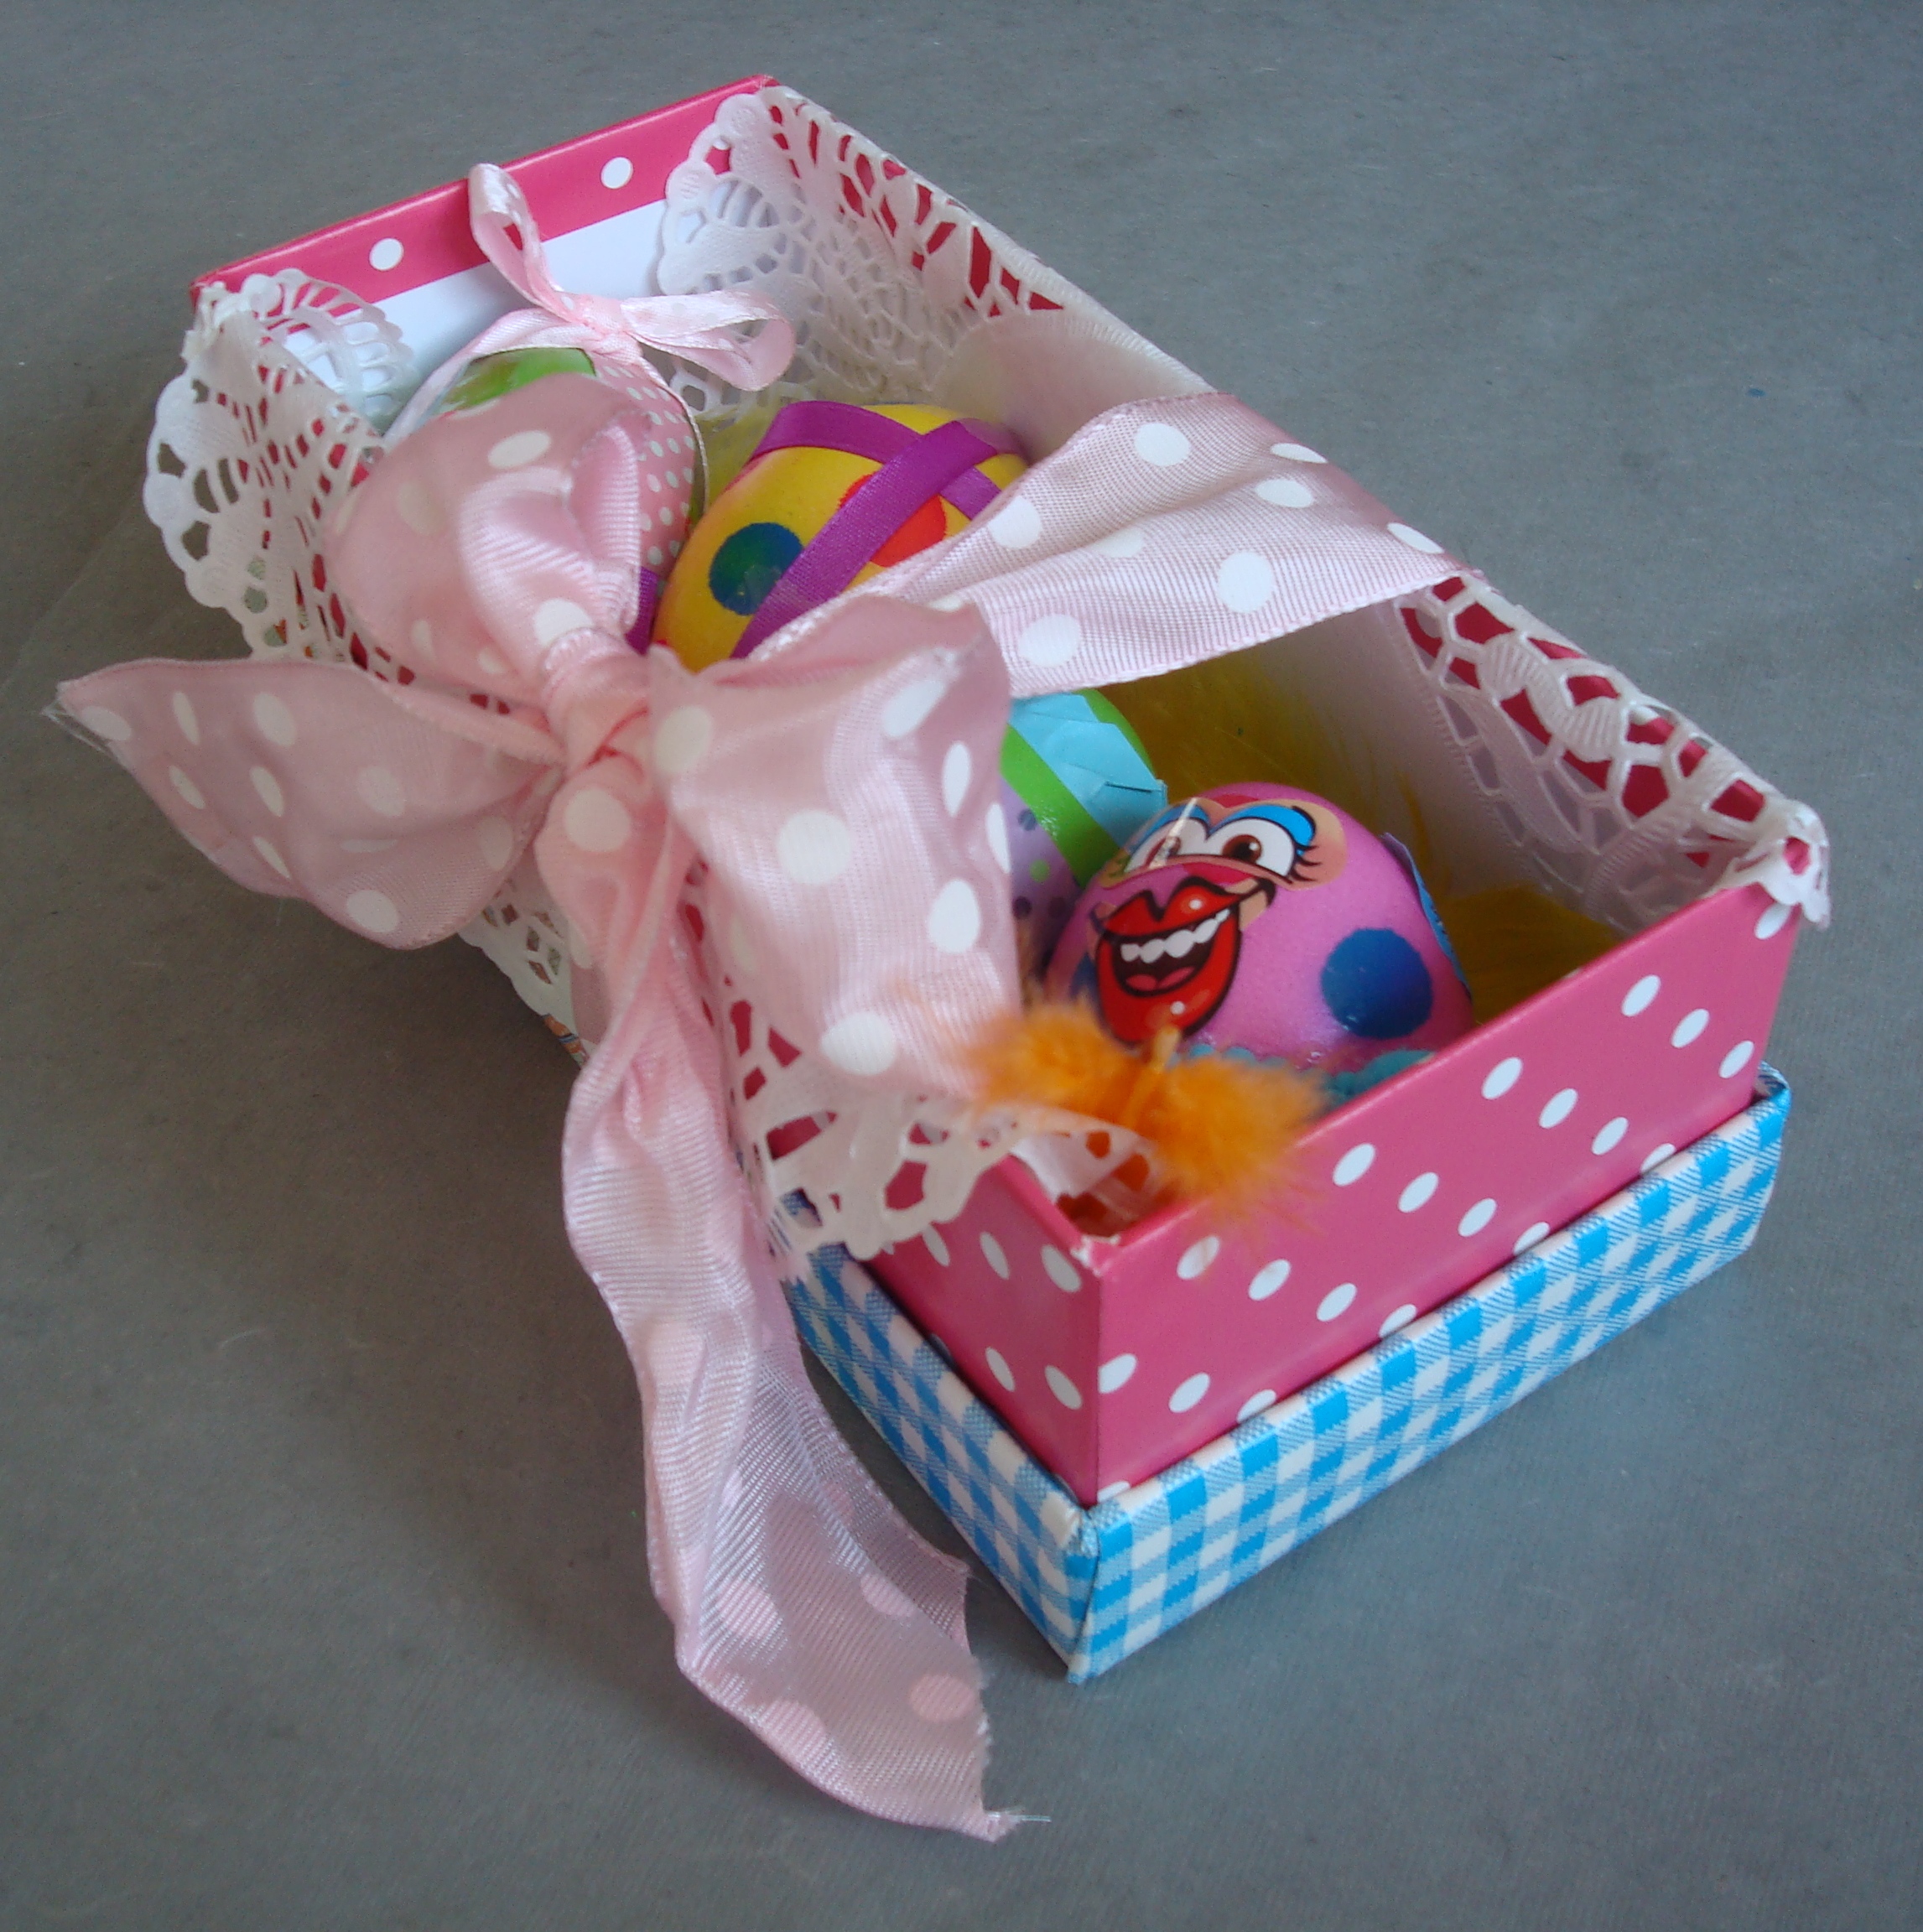
Eggbox

Ik heb een bestaand doosje versierd om de eieren te vervoeren. De eieren liggen knus in een kantje. De felgekleurde veertjes maken het nog feestelijker.

Dit mooie doosje is mijn bedankje voor de gastvrouw van de paasbrunch.

Aan al mijn lezers: Bijzondere pasen gewenst!

Paaseieren pimpen (1/3)

Voor de Pasen ben ik helemaal los gegaan op paaseieren. In het paasdrieluik geef ik tips en inspiratie het versieren van paaseieren:

  1. Ik begon met gekookte en geschilderde eieren, de eieren ware dus al prachtig!
  2. Ik heb de eieren versierd met washi tape en lint.

PaaseiPimpen

Ik had stickers bij mijn kinderbananen gekregen, om bananen te versieren, daar kan je natuurlijk ook een ei mee beplakken. Hiermee maakte ik het speelse roze ei tot een sexy dame.